Synology NAS SSL Certificate Administration
Install and configure an SSL certificate on your Synology DiskStation NAS using the DSM control panel.
Overview
Synology DiskStation Manager (DSM) features built-in SSL/TLS support, allowing you to secure your NAS with a trusted certificate from FairSSL rather than relying on the default self-signed certificate. This guide covers both DSM 6 and DSM 7.
Prerequisites
- Synology NAS running DSM 6.0+ or DSM 7.0+
- Administrator account access
- A domain name pointing to your NAS (e.g. via Synology DDNS or your own domain)
- A DV certificate from FairSSL (sufficient for most NAS use cases)
Step 1: Generate a CSR in DSM
DSM 7:
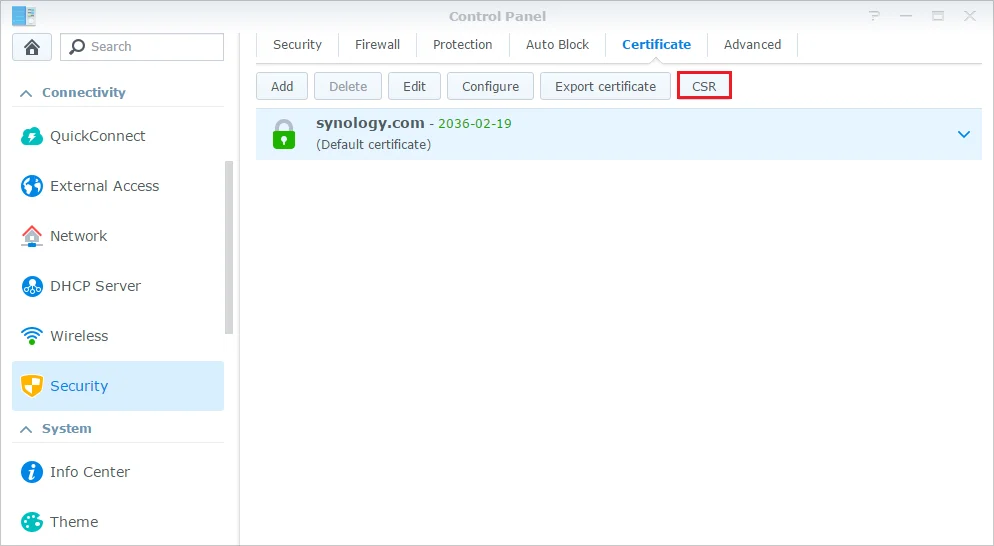
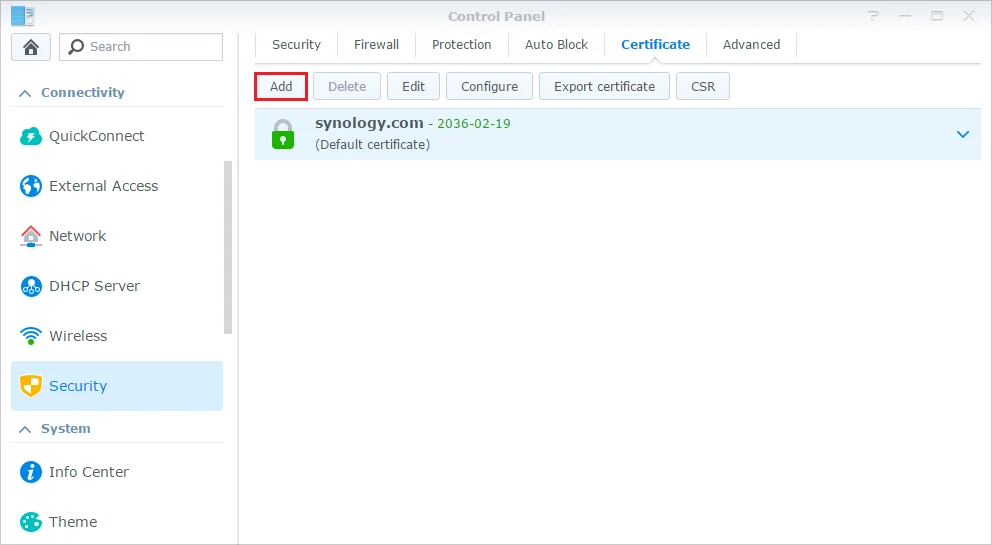
- Navigate to Control Panel → Security → Certificate.
- Click Add.
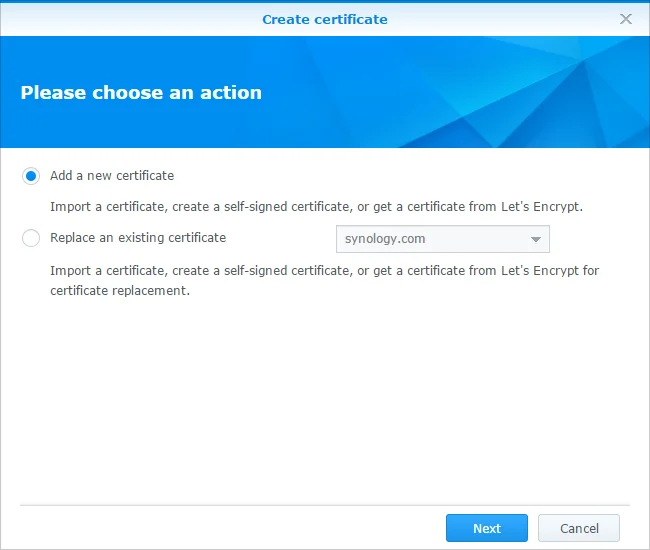
- Select Add a new certificate → Next.
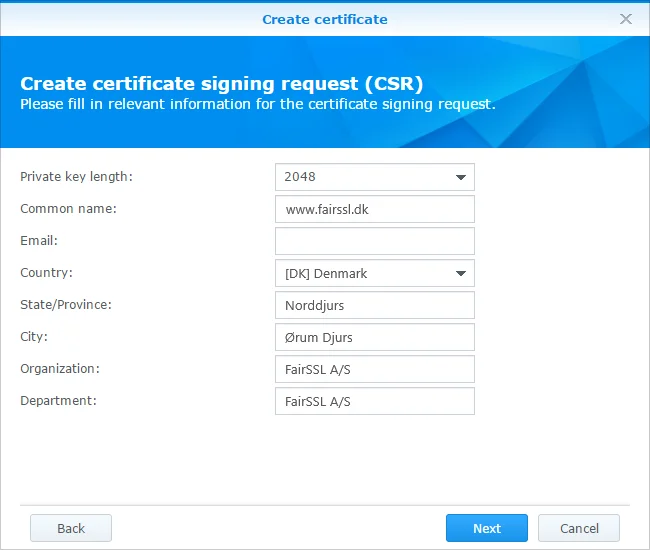
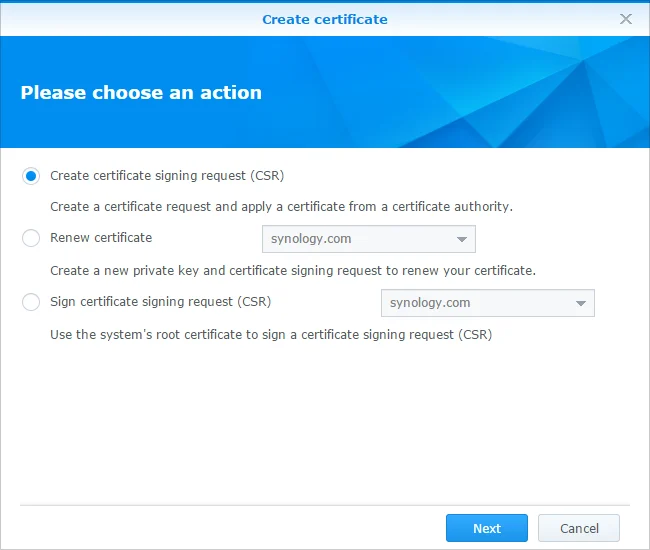
- Select Create certificate signing request (CSR) → Next.
- Fill in the details:
- Private Key: Generate new (RSA 2048)
- Common Name: Your fully qualified domain name (e.g.
nas.example.com) - Email, Organisation, City, Country: Enter relevant details
- Subject Alternative Name (SAN): Add any additional domains if required
- Click Next. DSM will generate and download a
.csrfile and a.keyfile.
Important: Save the private key (.key) in a secure location. You will need it for the import process.
DSM 6: The procedure is the same, but the path is Control Panel → Security → Certificate → Create certificate → Create certificate signing request (CSR).
Step 2: Order your certificate
- Log in to your FairSSL control panel at fairssl.com.
- Select a DV certificate (e.g. RapidSSL, Sectigo PositiveSSL, or GlobalSign AlphaSSL).
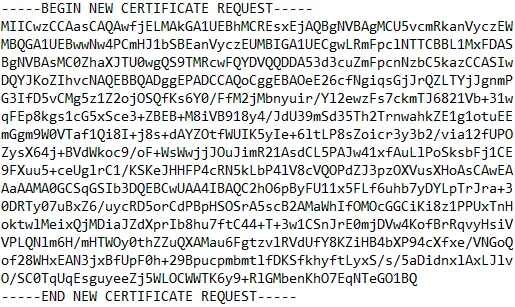
- Submit the CSR text from the file you downloaded.
- Complete the domain validation process (via email, DNS record, or HTTP file).
Step 3: Import the certificate into DSM
Once FairSSL has issued your certificate:
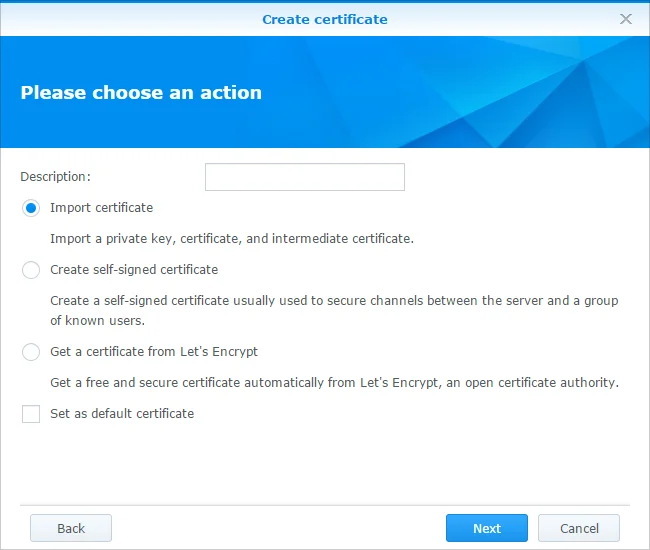
- Navigate to Control Panel → Security → Certificate.
- Click Add → Add a new certificate → Next.
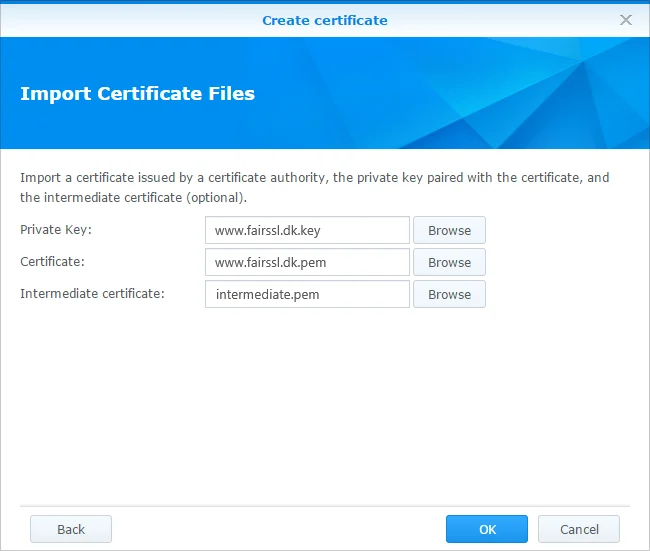
- Select Import certificate → Next.
- Upload the following:
- Private Key: The
.keyfile from Step 1 - Certificate: The
.crtfile provided by FairSSL - Intermediate Certificate: The CA Bundle file provided by FairSSL
- Private Key: The
- Tick Set as default certificate if you want this to be the primary certificate.
- Click OK.
Step 4: Assign the certificate to services
DSM allows you to use different certificates for different services:
- Navigate to Control Panel → Security → Certificate.
- Click Settings (DSM 7) or Configure (DSM 6).
- For each service (DSM, Web Station, MailPlus Server, VPN Server, etc.), select your desired certificate.
- Click OK.
Common services using SSL/TLS:
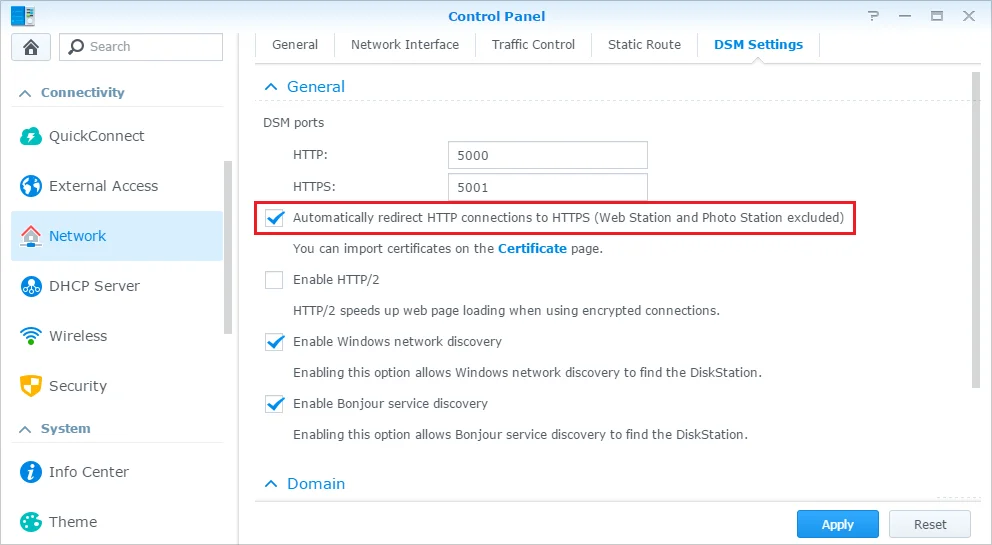
- System default: The DSM web interface (port 5001)
- Web Station: If you are hosting websites locally
- MailPlus Server: For SMTP/IMAP/POP3 using TLS
- VPN Server: For OpenVPN or L2TP/IPSec
- Synology Drive Server: For secure file synchronisation
Step 5: Configure DDNS with SSL (Optional)
If you are using Synology DDNS:
- Go to Control Panel → External Access → DDNS.
- Click Add and configure a DDNS provider (Synology, No-IP, DynDNS, etc.).
- Once DDNS is configured, you can use your hostname (e.g.
mynas.synology.me) with a matching certificate.
Tip: While Synology offers free Let's Encrypt certificates for *.synology.me domains, using your own domain with a FairSSL certificate provides longer validity periods and OV/EV options for professional setups.
Step 6: Renewal and Maintenance
- DSM 7 with Let's Encrypt: Renews automatically every 90 days (requires port 80 to be open).
- FairSSL Certificates: Valid for 1 year. You will receive a reminder from FairSSL before expiry. Simply reissue and re-import following Step 3.
- Backup: Always export your certificate and key from DSM (Certificate → select certificate → Export) and store it securely.
Troubleshooting
- "Certificate not trusted": This usually means the Intermediate certificate is missing. Re-upload it alongside your certificate as described in Step 3.
- Cannot connect on port 5001: Check the DSM firewall under Control Panel → Security → Firewall. Ensure there is a rule allowing traffic on port 5001.
- Certificate not appearing for a specific service: Go to Certificate → Settings and ensure the certificate is explicitly assigned to that service.
- DDNS update fails: Ensure your router is forwarding ports 80 and 443 to the internal IP address of your NAS.
Strengthen your TLS security
Use the Mozilla SSL Configuration Generator to generate a secure TLS configuration with modern cipher suites and protocol settings.
Mozilla SSL Configuration Generator guide